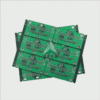
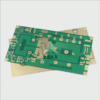
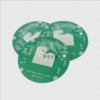
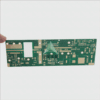
Prototyping PCB: Streamlining the Path from Design to Reality
Prototyping PCB: From Concept to Reality
Prototyping PCBs is a key step in the product development process, enabling designers to transform their ideas into functional circuit board prototypes. This article will delve into essential steps involved in PCB prototyping as well as key considerations that ensure an easy and successful prototyping journey from design optimization through functional testing. Understanding this journey is paramount to successfully realizing your PCB design into reality.
1. Optimization of PCB Design:
Prior to prototyping, it is vitally important to optimize PCB design. Thorough review and validation should take place of both schematics and layout designs to reduce potential errors or design flaws and employ design rule checks (DRC) and simulate circuit performance simulation in order to identify any potential issues before moving forward with prototyping.
2. Component Sourcing:
Locate and source all required components for your PCB prototype. Check availability, lead time and compatibility with design requirements before selecting surface mount technology (SMT) components to enhance ease of assembly and cost-efficiency. Multiple suppliers may offer competitive prices and reliable availability – this should allow you to achieve success.
3. Fabrication Techniques:
Select an appropriate fabrication technique depending on the needs and specifications of your prototype. Two common approaches include:
- PCB Prototyping Services: When prototyping PCB boards quickly and cost-effectively, work with a service provider offering quick turn services such as rapid prototyping. Online services provide cost-effective yet reliable options to consider when looking for prototyping providers.
- In-House Prototyping: With access to appropriate equipment, resources, and expertise, in-house prototyping of PCBs may be possible using methods like etching and milling as well as printing technologies like inkjet or UV exposure.
4. PCB Assembly:
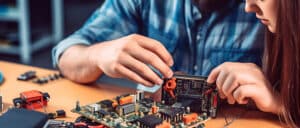
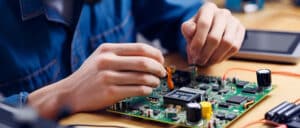
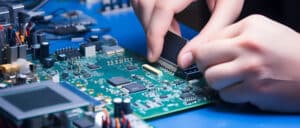
Once your fabricated PCBs are completed, assembly begins. Depending on your preferred method, either hand-soldering components by hand or opting for reflow soldering for SMT components are possible methods of assembly. When soldering components by hand or opting for reflow soldering for SMT components is best. Ensure proper component alignment, solder joint quality, and use good soldering practices to avoid assembly related issues.
5. Functional Testing:
After assembly, perform functional testing on the PCB prototype to assess its performance and functionality. Check that all connections are correct, as well as ensure it adheres to design specifications. Benchtop measurement tools such as oscilloscopes can help evaluate individual component performance such as signal integrity or power delivery.
6. Iteration:
Utilizing the results of functional testing, assess any issues or areas for improvement and make any modifications needed before iterating the design accordingly. Repeat fabrication and assembly steps as necessary until validating changes and reaching desired performance before moving towards mass production.
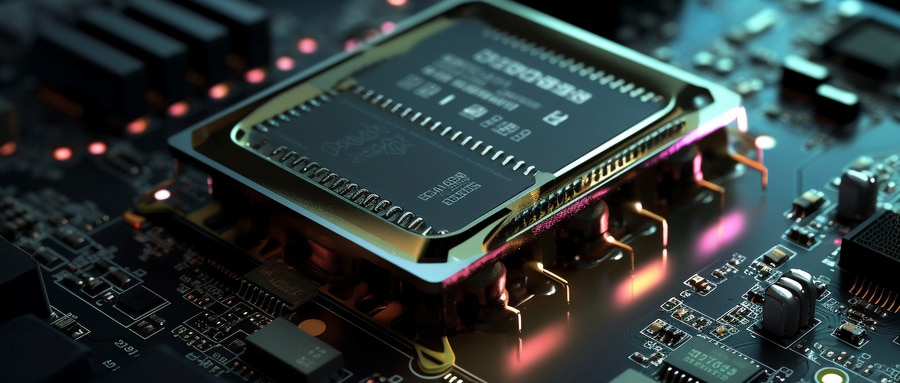
Prototyping PCBs is an integral step in product development, allowing designers to transform conceptual designs into functional prototypes. By optimizing design elements, sourcing components, selecting appropriate fabrication techniques and conducting comprehensive functional tests on these prototypes, designers can streamline this phase and quickly identify any design or assembly-related issues before finalizing an optimized and validated prototype design that they can move onto mass production with confidence knowing their product has been thoroughly vetted for performance and reliability.
FAQ:
- What is Prototyping PCB Design?
Prototyping PCB design refers to the process of creating an initial model or sample of a Printed Circuit Board (PCB) to test its design, functionality, and performance before it’s mass-produced. - Why is PCB Prototyping necessary?
Prototyping helps in validating a design and identifying potential design flaws before they can create major issues in the final product. This testing phase allows for design adjustments to be made, ensuring that the finished PCB will function as intended. - What methods are used in PCB Prototyping?
Common methods include CNC-milling, laser cutting, and more recently, 3D printing. Traditional methods like photoengraving or screen printing are also used. There are also professional prototype services available, well-suited for high precision or complex designs. - How long does it take to prototyping PCB?
The time taken to prototyping PCB depends on the complexity of the design and method used for prototyping. It could take a few hours to a few days when done in-house. Professional services might take longer due to the inherent lead and shipping times involved. - What materials are used for PCB Prototyping?
The most common material used for PCB prototypes is FR4 (flame-retardant level 4), due to its stability, ease of use, and cost-effectiveness. Other specialized materials could be used depending on specific application requirements.These could include ceramics, Teflon, or even flexible substrates for flex PCBs. - What is the cost associated with PCB Prototyping?
The cost varies depending on the complexity of the design, the prototype method used, volume, required turn-around time, etc. In-house prototyping could have lower direct costs, but takes personnel time and requires an upfront investment in equipment. - Can I make a PCB Prototype at home?
Yes, simple PCBs can be prototyped at home using readily available materials and tools. Etching techniques using acetate sheets or direct etching methods can be employed. However, more complex designs could be impractical and would benefit from professional services. - What are PCB Prototype Assembly Services?
These are services that not only create the physical boards, but also add, solder and test the components on the board. This is extremely useful for complex or multi-layer boards where component assembly and soldering can be tricky. - Is there a difference between Prototype PCBs and Production PCBs?
Yes. While the aim is for both to function identically, prototype PCBs might have small design variances for testing purposes, or simpler finishing techniques, as they are primarily made for functionality verification rather than aesthetics or durability. - What comes after Prototyping PCB?
Once a PCB prototype has been tested and validated, the next steps usually involve finalizing the design based on the prototype testing results, securing a manufacturer, and moving into full-scale production.

