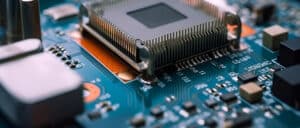
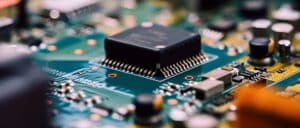
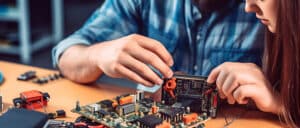
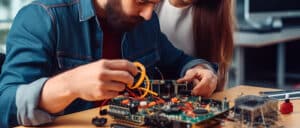
A Guide to PCB Repair: Tips and Techniques for Fixing Printed Circuit Boards
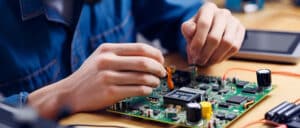
Printed circuit boards (PCBs) are key components of electronic devices, providing connections for components to communicate and function efficiently. Unfortunately, PCBs may sometimes encounter issues that necessitate repairs; we will provide an extensive guide to PCB repair in this article including techniques, tips and best practices for diagnosing and rectifying common issues seen with electronic devices.
- Recognizing Common PCB Issues:
Before initiating repairs on PCBs, it is vitally important to identify common issues such as broken traces, damaged solder joints, faulty components and short circuits. By understanding each specific issue more fully, an efficient repair strategy can be devised. - Diagnostic Tools and Equipment:
For accurate diagnosis of PCB issues, having the appropriate tools and equipment is vital. A multimeter is a useful device that measures voltage, resistance, continuity and other vital measurements – this allows you to accurately detect faulty components as well as trace connectivity issues on a PCB board. Likewise, soldering irons, desoldering pumps and solder wire can all help repair broken connections quickly and accurately. - Visual Inspection:
A visual inspection is the key to detecting potential issues on a PCB. Look out for damaged traces, burnt-out components and signs of overheating; examine solder joints for cracks or detachment from the board; magnifying glasses can help provide more thorough examination. - Troubleshooting and Component Testing:
Once you’ve identified potential problem areas, the next step should be troubleshooting and component testing. Begin by double-checking all connections are secure before using a multimeter to measure voltage and continuity across the circuit. If any components appear faulty, take immediate steps to confirm their functionality by testing them separately from their boards. - Repairing Broken Traces:
Broken traces can impede the flow of electricity on a PCB. To repair them, start by carefully peeling away any solder mask or coating covering the damaged area and cleaning with isopropyl alcohol or PCB cleaner for better adhesion. Afterward, use a fine-tipped soldering iron with solder wire to bridge any gaps and restore connections between circuits. - Repairing Damaged Solder Joints: Wrought Iron joints may become damaged over time from heat exposure, mechanical stress or poor soldering techniques. To address such damage, using a desoldering pump or wick to remove the old solder, clean out any residue with isopropyl alcohol, apply flux and solder the fresh solder to create a strong connection that will stand the test of time.
- Component Replacement:
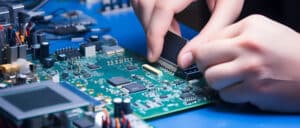
Once you have identified a faulty component, its replacement must take place immediately. This involves carefully dismantling it using a soldering iron and desoldering pump before cleaning up the area with flux and soldering the new component onto the board while adhering to correct polarity and orientation requirements. - Testing and Verification:
After finishing repairs on a PCB, it’s essential to carefully test it to ensure its proper functionality. Power up the device and look out for any strange behaviour or issues before using a multimeter to measure voltage levels and continuity across its circuits – conduct extensive tests until satisfied that repairs were successful.
Tips for Successful PCB Repair:
- Take your time and work in a well-lit and organized workspace to avoid mistakes.
- Use the appropriate tools and equipment for each repair task.
- Document the repair process, including photographs or notes, to track your progress and aid future repairs.
- Practice proper ESD (electrostatic discharge) precautions to protect the PCB and components from damage.
- Refer to datasheets, schematics, and repair guides for specific information on the PCB and components.
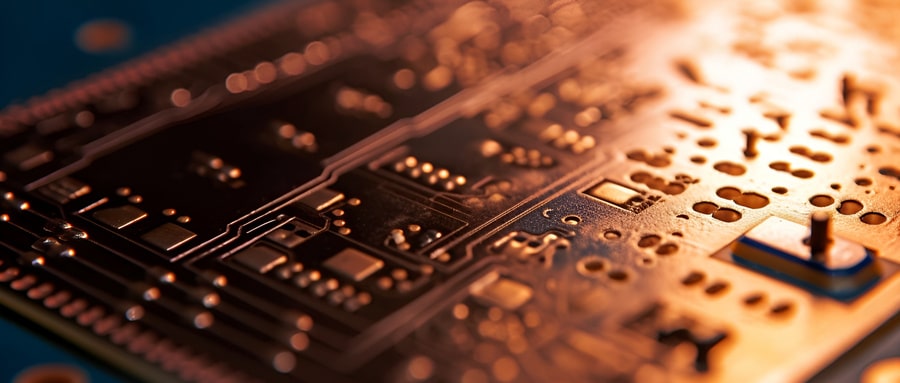
With the right tools, knowledge and techniques at your disposal, repairing PCBs can be both rewarding and cost-effective. This guide provided an overview of PCB repair processes including diagnosing common issues, troubleshooting solutions and carrying out successful repairs. By following our tips and best practices outlined herein you can restore functionality to electronic devices while prolonging their lifespans.
FAQ:
- What does PCB Repair entail?
PCB Repair refers to the process of diagnosing and fixing faults in a Printed Circuit Board. This could involve replacing damaged components, repairing broken traces, or fixing other physical or functional issues. - What are some common issues that require PCB Repair?
Common issues include burnt or damaged components, broken or lifted pads, cracked or broken traces, and soldering problems. - What tools are necessary for PCB Repair?
Basic tools include a multimeter, a soldering iron, solder, flux, and tweezers. More advanced tools that can greatly aid PCB repair can include a hot air station, various microscopes or magnifying glasses, and desoldering equipment. - How can I diagnose faults in a PCB?
A visual inspection can often reveal burnt or damaged components. Beyond that, a multimeter can be used to probe for continuity or voltage problems. In more complex situations, an oscilloscope might be used to understand the behavior of certain signals. - How can I protect myself while doing PCB Repair?
Always de-energize the PCB and discharge capacitors before working. Use safety glasses, especially when desoldering components. Be conscious of the heat from the soldering iron and other tools to avoid burns. - Is it always possible to repair a PCB?
No, sometimes a PCB can be damaged beyond repair, or it may be more cost-effective to replace the board completely. However, many issues can be fixed with appropriate tools and knowledge. - How can I learn more about PCB Repair?
Many online resources and books are available that go into detail about PCB Repair. This includes online courses, YouTube videos and forums. - How can I prevent damage to my PCB?
Proper handling, storage, and usage can prevent many commonly seen PCB issues. This includes minimizing exposure to dust, moisture, and handling the PCB by the edges to avoid physical damage or static electricity. - Is it safe to do PCB Repair at home?
With suitable precautions, it’s certainly possible to carry out simple repairs at home. However, only attempt doing so if you are confident about following the correct safety protocols and have the necessary tools. Some repairs might be better left to professionals. - Can I use general household tools for PCB Repair?
While some household tools might be useful (like a regular multimeter), specialized tools like a soldering iron and/or microscope are often needed for effective PCB repair. It’s critical to use the right tool for the job at hand for optimal results.

